Vivid Color with Lab in Postproduction of Underwater Images
Adobe Photoshop is the number one tool for image editing and provides a large number of editing tools and options—far too many of them actually. But the good news here is that, for editing our underwater images, we only need a few. There are some real gems hiding in the depths of this software, and one of them is great for giving underwater images a final “color kick.” This tutorial refers to Adobe Photoshop CS6 but works with older versions as well.
Tags & Taxonomy
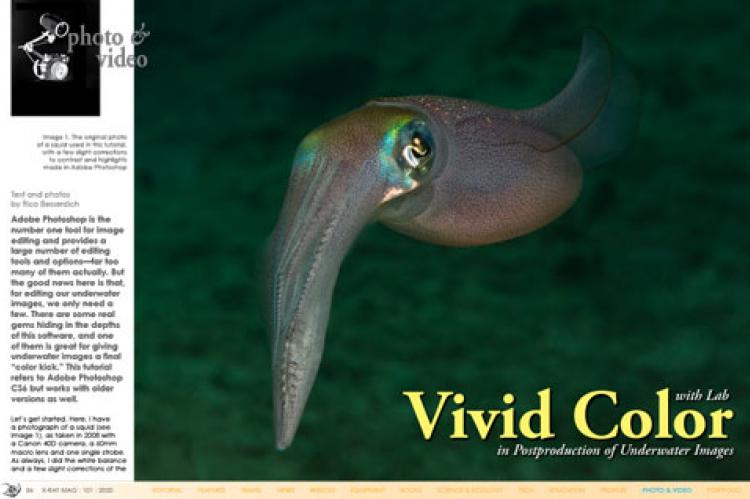
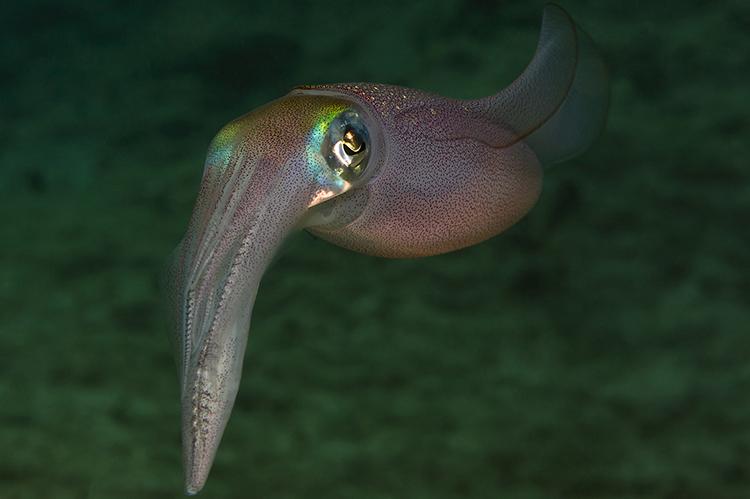
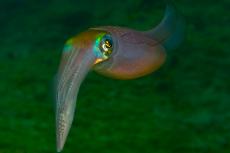
Let’s get started. Here, I have a photograph of a squid (see Image 1), as taken in 2008 with a Canon 40D camera, a 60mm macro lens and one single strobe. As always, I did the white balance and a few slight corrections of the contrast and highlights in Adobe Camera Raw. That took less than a minute, and the rest I will do in Photoshop itself.
In Photoshop, I used advanced retouching techniques to get rid of a few bits of backscatter and applied a Curves modification by setting a black-and-white point, just to fix a very subtle cyan color cast.
So far, so good, and the image is almost ready. But what I would love to do is make the colors pop a bit more—just as a “final touch.”
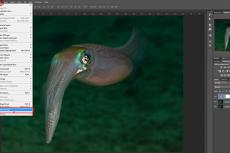
Some of you might say that it is the easiest thing to add this final touch, and you might have the Vibrance adjustment layer in mind. Let’s have a look at how that works (see Image 2).
Well, it works... but not so well. Let’s try it again but this time with a saturation boost, using the Saturation slider (see Image 3).
It’s not getting any better—it’s getting worse! All the colors look very artificial now, and I believe that this squid deserves something better. In editing underwater images, I tend to say, hands off of those Vibrance and Saturation sliders. So, let’s delete those nasty Vibrance and Saturation adjustment layers. But before we proceed, in case you did any adjustments or modifications to your image in Photoshop and want to keep the PSD file for later use, now is the time to save it onto your hard disk.
Now, it is time to enter the Lab color mode.
1. Merge all layers into one by selecting Layer, and then, Flatten Image (see Screenshot 1).
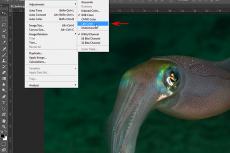
2. Go to Image > Mode and select Lab Color (see Screenshot 2).
Ok, there is no change in sight… but just wait, it will come in a short while. Until then, here is a quick explanation of Lab. A Lab color space is a color-opponent space, with dimension L for lightness, and A and B for the color-opponent dimensions.
Let’s keep it simple: The Lab color space includes all perceivable colors, which means that its gamut exceeds those of the RGB and CMYK color models. Lab color is designed to approximate human vision. And this little trick helps us give the colors in our image the “final touch.”
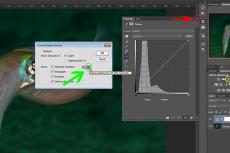
3. Create a new Curves layer by clicking on the Curves layer symbol (in yellow). For more precise work, we will need to open the Curves Display Options (in red) and activate the option “Display detailed grid with 10% increments” (in green). See Screenshot 3.
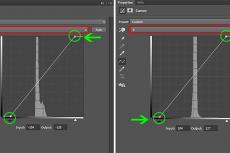
4. First, select the “A” channel in the dropdown menu on top of the Curves histogram. Then, pick the little black triangle symbol (directly below the histogram on the left) and move it slightly to the right. Gentle steps, please. Something close to the grid’s first vertical line is often enough. After that, move the little white triangle symbol (bottom right) to the left, until the first line of the grid.
Select the “B” channel in the dropdown menu and do exactly the same there. The important thing is that each triangle symbol (in both channels A and B) is moved to the same position. Look at Screenshot 4.
Using this technique, it is important to make the adjustment to both channels. We do not need to touch the “L” (Lightning) channel.
To see the result of your work, you will need to complete all the steps shown above. If you like what you see, then that’s great. If you want a stronger or lesser effect, then move all four triangle symbols to a different position. Again, if you move the black triangle to a specific position, you will need to do it with the white one as well.
Not all underwater images require this adjustment in the Lab color space, but if you want to check if it is possible to squeeze a bit more out of an image, or if you are a fan of warm and smooth colors, just try this method. But please remember to take gentle steps—do not overuse it!
5. Once you are done and happy with the result, merge all layers (Layer > Flatten image). Go to Image > Mode and switch from Lab Color back to RGB Color. This is it. Congratulations! (See the final result in Image 4.)
Rico Besserdich is a widely published German photographer, journalist and artist based in Turkey. For more information, visit: Maviphoto.com. See his latest book at: Songofsilence.com.
Download the full article ⬇︎
